


How to Prime a Vape Coil: A Safe First-Use Guide

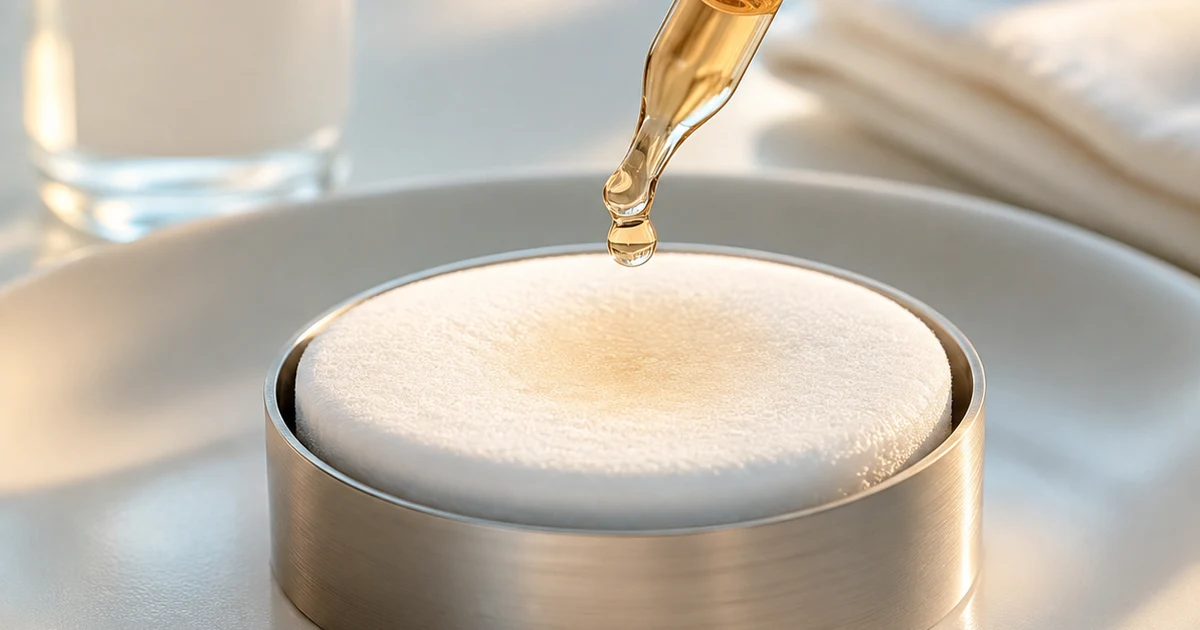
Short answer: To prime a replaceable vape coil, install it as the manufacturer directs, wet only the exposed wick if the manual allows manual priming, fill the tank or pod with a compatible e-liquid, wait for the stated saturation time, then begin at the low end of the coil’s supported power range. Do not fire a dry coil, guess a universal number of drops or force liquid into a sealed pod.
Priming gives e-liquid time to reach the wick before heat is applied. It is a setup step for a new compatible coil, not a way to repair burnt cotton, a cracked pod or an electrical fault. The exact product manual always takes priority because coil designs and filling systems differ.
First identify the type of coil or pod
The phrase “prime a coil” is used for several different parts. Before adding liquid, identify which one you have:
- Separate push-fit or threaded coil: the replaceable coil is installed into a refillable tank or pod.
- Integrated-coil pod: the wick and coil are permanently built into the refillable pod; the whole pod is replaced.
- Prefilled sealed pod: it arrives filled and is not intended to be opened or manually primed.
- Rebuildable atomiser: the user installs wire and wick. This requires separate technical knowledge and is outside this beginner guide.
Do not pull apart an integrated pod or pierce a sealed product. If the packaging and manual do not clearly identify the part as refillable, stop and confirm the exact model.
What priming does and does not do
A replaceable coil normally contains absorbent wick around a heating element. When the wick is dry, applying power can overheat it before liquid reaches the heating surface. Manufacturer instructions therefore commonly tell users to fill the tank and wait, and some also permit a small amount of liquid to be placed on visible wick openings.
Priming cannot:
- make an incompatible coil fit a device;
- restore wick that already tastes burnt;
- solve a short circuit, unstable resistance or battery warning;
- make the wrong e-liquid suitable for a pod or tank;
- repair a torn seal, cracked reservoir or damaged contact.
If the device already shows a fault, resolve that fault before trying to use the new coil.
How to prime a replaceable vape coil
1. Confirm the exact coil and supported range
Match the manufacturer, coil family, resistance and compatible device list. Two coils with the same resistance can have different dimensions, connectors, wick openings and power ranges. Read the rating printed on the coil or official package; do not borrow a wattage from a different model.
2. Inspect the new part
Check the seals, threads, base and visible wick. Do not install a coil with a bent connector, torn O-ring, contamination or obvious physical damage. Make sure the tank or pod is clean and dry where it contacts the device.
3. Wet exposed wick only when permitted
Some manuals instruct the user to place a few drops of e-liquid on the visible cotton ports. Follow the exact manual rather than a universal drop count: small pod coils and large tank coils do not hold the same amount. The wick should look damp, not flooded, and liquid should not be poured down an airflow chimney or onto electrical contacts.
If the manual does not call for manual dripping, use the fill-and-wait method. For an integrated-coil pod, fill through the designated port and close the plug correctly.
4. Install the coil without forcing it
Push or thread the coil in the direction shown by the manufacturer. It should seat evenly. Cross-threading, overtightening or forcing a misaligned push-fit coil can damage seals and create leaks. Refit the base, pod or tank parts and confirm the fill closure is secure.
5. Fill with a compatible e-liquid
Use the fill port rather than the central air tube. Keep within any minimum and maximum fill markings. The liquid format and viscosity must suit the coil and device; priming cannot compensate for an unsuitable blend.
6. Wait for saturation
Use the waiting time in the exact manual. Current Innokin guidance gives examples of about ten minutes, while particular Vaporesso manuals may state at least five minutes. Those figures are product instructions, not a universal rule. A larger wick or thicker liquid may require the longer time stated by its manufacturer.
7. Start gently within the supported power range
If power is adjustable, begin at the lower end of the range printed for that coil and increase only in small steps if the manual allows it. Do not start above the stated range. For an automatic pod, use normal gentle draws and let the device control power.
Avoid repeated long draws immediately after setup. The wick needs time to replenish liquid between puffs, especially during its first use.
Priming integrated-coil pods
An integrated-coil pod is simpler because the user does not handle a separate coil. Confirm that the pod is refillable, open the designated fill port, add compatible liquid without exceeding the fill line, close it fully and wait for the manual’s stated time.
Do not drip liquid through the mouthpiece unless the manufacturer explicitly instructs that method. The mouthpiece often leads to the airflow path, where excess liquid can cause gurgling or spitback rather than saturating the wick correctly.
For more on fillable and sealed designs, the site’s open versus closed pod system guide explains the difference in page role and maintenance.
Common priming mistakes
| Mistake | Why it is a problem | Better check |
|---|---|---|
| Firing before filling | Dry wick may overheat immediately | Fill and wait before applying power |
| Using a universal drop count | Coil sizes and wick ports differ | Follow the exact manual |
| Pouring liquid into the centre tube | Liquid can enter the airflow path | Use the marked fill port |
| Starting at maximum power | Liquid supply may not keep pace with heat | Begin at the low end of the rated range |
| Trying to prime a sealed pod | Opening can damage the product and cause leaks | Use it only as designed |
| Reusing a burnt coil | Priming does not reverse wick damage | Replace the correct part |
How to tell whether the coil is ready
There is no reliable visual test for every internal wick. Readiness is established by completing the manufacturer’s process: correct part, correct fill, closed seals, full waiting time and supported starting power.
Stop rather than continue if the first use produces a persistent burnt taste, severe gurgling, hot liquid at the mouthpiece, leaking toward the battery, an atomiser error or unusual heat. A brief adjustment cannot make a damaged or incompatible component safe.
If liquid enters the airflow path, switch the device off and follow the manufacturer’s cleaning instructions. The site’s guide to pod gurgling separates excess-liquid symptoms from a dry or burnt wick. For persistent burnt flavour, see why a vape tastes burnt.
UAE heat makes setup location important
Do not prime or leave a filled device in a parked vehicle, direct sun or beside another heat source. Heat can thin e-liquid, increase leakage risk and warm the battery before use. Let a device that has been stored in a hot place return to the operating conditions stated in its manual, then inspect the reservoir, seals and contacts.
Keep e-liquid away from children and pets, avoid skin and eye contact, and follow the product’s storage instructions. This article does not recommend a nicotine strength or provide cessation advice.
New-coil setup checklist
- Confirm the exact device, coil family and resistance.
- Check that the coil or pod is refillable and undamaged.
- Read the manufacturer’s priming and filling instructions.
- Wet only visible wick ports if the manual permits it.
- Install the part evenly and close all seals.
- Fill through the correct port with compatible liquid.
- Wait for the full model-specific saturation time.
- Start at the low end of the supported range or use normal automatic operation.
- Stop at burnt taste, leaking, errors or unusual heat.
Conclusion
Knowing how to prime a vape coil is mainly about identifying the part and following its manual. Saturate the wick by the approved method, wait long enough and begin within the coil’s supported settings. If the documentation is missing or the first use shows a fault, stop and verify the setup rather than adding more liquid or more power.
References
- Innokin Support: How to maintain vaping devices. Checked 17 August 2026.
- Innokin Support: Troubleshooting. Checked 17 August 2026.
- Vaporesso LUXE PM40 user manual. Checked 17 August 2026.
- Innokin Zenith Minimal user manual. Checked 17 August 2026.
- US FDA: Tips to help avoid vape battery fires or explosions. Checked 17 August 2026.